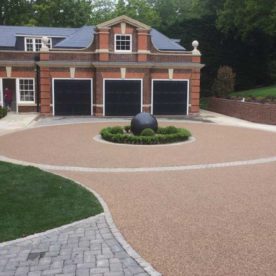
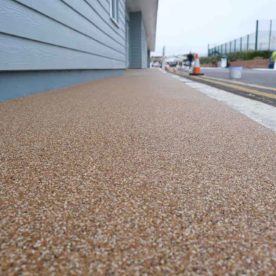
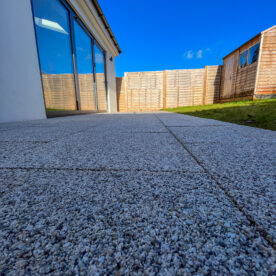
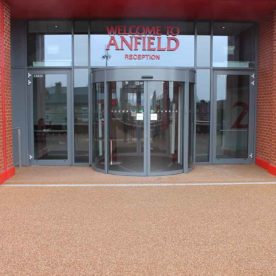
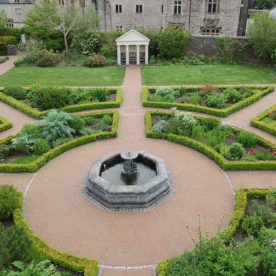
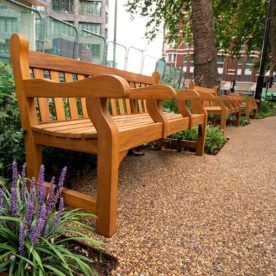
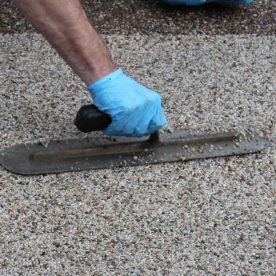
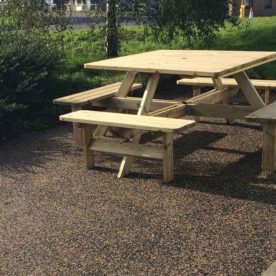
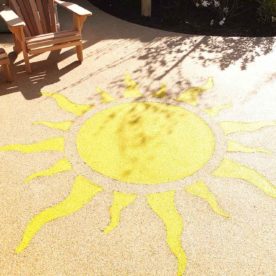
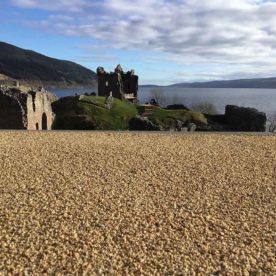
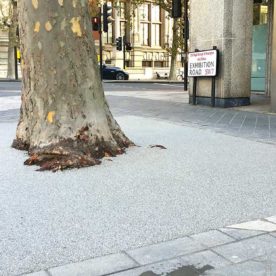
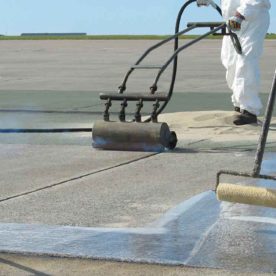
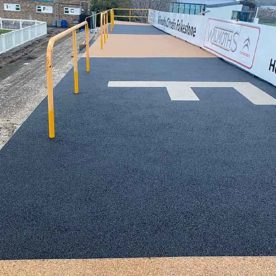
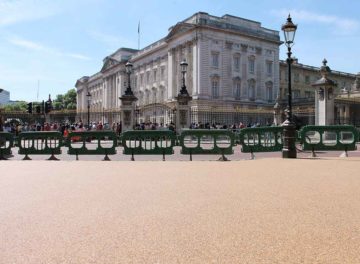
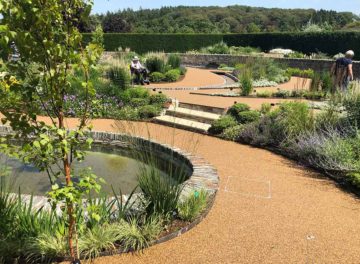
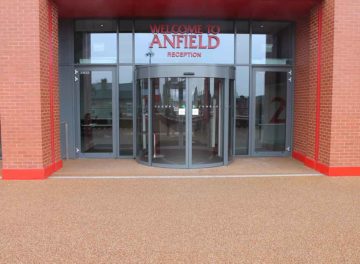
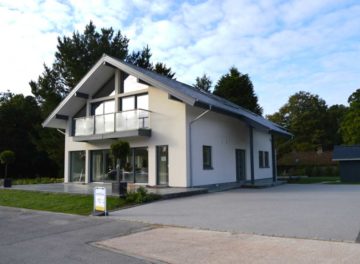
Home » Finishing Materials » Terraco EIFS » Installation Process
EIFS Installation Process
-
For enquiries:
01825 761333
EIFS (External Insulation Finishing System)
Brochures
Technical Datasheets
-
It is important that the Terraco Exterior Insulation Finishing System is correctly installed. All installers of Terraco EIFS are certified after they have been through the Terraco Training Centre.
Before beginning the installation
Asses the suitability of the substrate. If there are any discrepancies with the initial inspection of the substrate, do not proceed with the application until all unsatisfactory conditions are corrected.
System Detail Review
Ensure that the follow are correctly designed and reviewed prior to commencing installation:
1. Window and door reveals
2. Parapet capping
3. Bottom of walls (grade or pavement)
4. Penetrations (gutter down-pipes, fixtures, outlets, signage)
5. Aesthetic features
6. Expansion joints
7. Abutments to dissimilar materials
8. Roof/wall intersection
9. Flashing locations
10. Window sills / over-sills
11. Roofing
Step 1 - Installing starter base profile
Step 2. Applying adhesive to board
-
Styrofix spot application
-
Styrofix notched trowel application
-
Insulation board should never align with window corners
Slide and push the boards into place and apply even firm pressure to entire insulation board once it is in place.
Step 3. Application of Mechanical Fasteners
The amount of Terraco EIFS fasteners per square meter will depend on a multitude of factors including building substrate and building height. The fasteners should be installed only after the styrofix has dried fully and they should be flush with the installation board.
Step 4. Application of reinforcing mesh
Cut Terraco reinforcing mesh into warcable lengths and apply an even layer of Styrobond DP approx. 1.5-2.0 mm in thickness to the surface of the insulation board. Immediately embed the Terraco reinforcing mesh into the fresh Stytrobond DP and trowel it fromt he centre out to the edges. Mesh mush overlap 10cm. Once set apply second layer of Styrobond DP.
Step 5. Priming
Examine the surface to ensure that it is plumb and free from any irregularities. Apply primer by roller.
Step 6. Decorative Finish
Choose the decorative finish of your choice
Terraco offers a variety of high quality acrylic and silicon based coatings in a wide arrange of colours. Brick effects can also be achieved through ashlar jointing or through the use of brick slips.
-